Lighting a kitchen – our top tips on using downlighting
It’s fair to say that a standard approach for kitchen lighting is to use downlights in the ceiling and led strip under wall cupboards to provide a good working light on the worktops. This is fine in principle, but if downlights are installed without proper thought to the needs and function of the room, it can result in a blare of light across some parts of the room, dark areas in others, or the light over a workspace being blocked or creating shadows where you don’t want them.
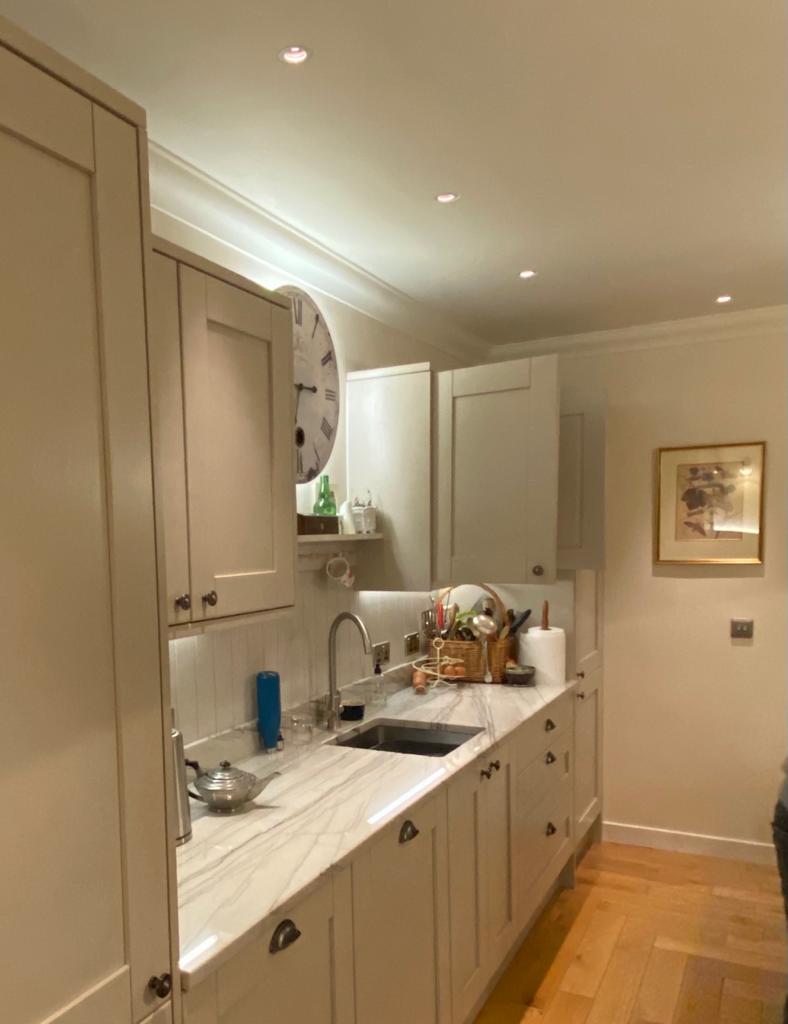
The best way to use downlights in a kitchen is to look at where you actually need light and plan accordingly. Too often downlights are thrown up in a grid across the ceiling which ignores the position of anywhere you might be working, and you end up in shadow with the light behind you when you stand at the sink/cooker/worktop, or dazzled in the middle of the room where you don’t actually need a light source.
My three main tips for effective and successful use of downlights are as follows.
1. Position
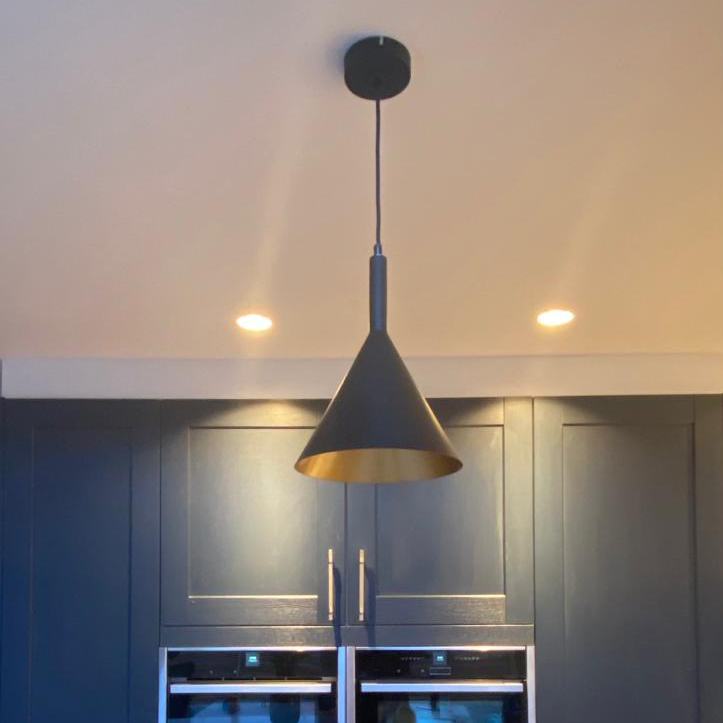
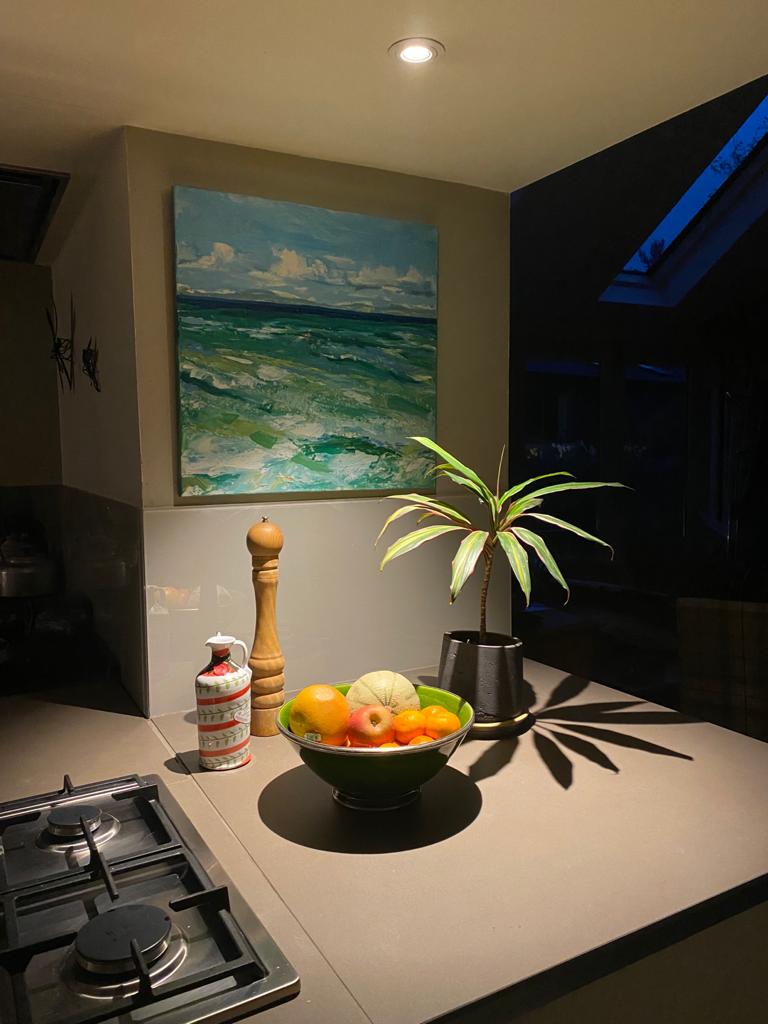
The first step is to work out which lights need to shine down directly – eg over worktop, cooker, sink, decorative fruit bowl – and which need to be angled – eg towards cupboards, shelves or pictures on the wall. Plan to position the lights in the ceiling to shine specifically where you need them, and remember a single golden rule: symmetry is NOT important, it’s all about where the light will shine. People can find this quite difficult to accept but stick with the ‘put light where you need it’ principle and you’ll end up with a practical, well lit kitchen.
2. Style of fitting
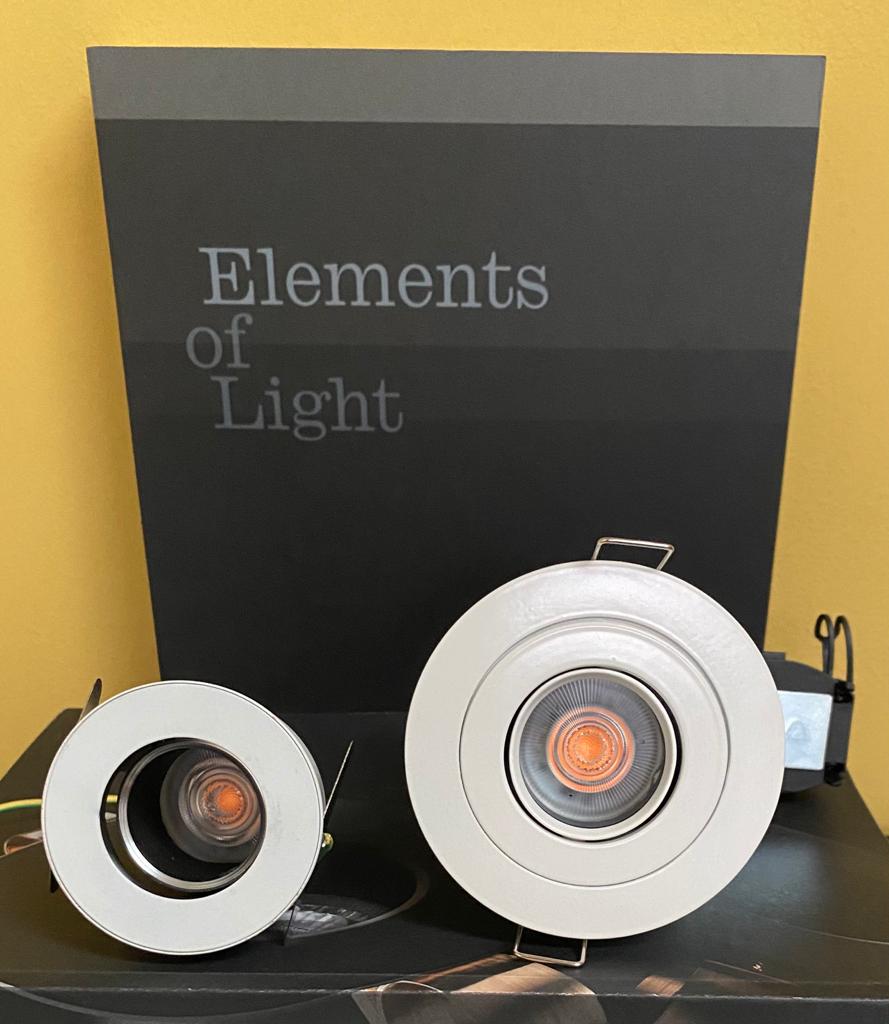
A key problem with downlights is that they often produce a high amount of glare. This is at its worst when the bulb within the light fitting is flush with the ceiling, so all you see is a series of light circles rather than an impression of light being smoothly emitted (which immediately creates a nicer atmosphere).
I strongly recommend to all my clients that every downlight should have two key characteristics.
a. It is structured so the bulb is well recessed into the fitting, sitting 2cm or more back from the surface of the ceiling. As well as hiding the actual bulb and reducing glare, this allows the light to diffuse as it leaves the fitting so you get a softer light that blends with others in the room, rather than being a harsh circle.
b. It can be tilted. I have a firm belief that downlights should be called ‘angle-towards-what-you-want-them-to-light-up’ lights, so they illuminate the thing you want to actually see while at the same time reflecting light back in to the room. An example of this would be kitchen wall cupboards, where the light will shine on the cupboard door creating general light in the room, and provide practical light to see inside the cupboard when you open it.
3. Type of bulb
One rule here – dimmable. Because kitchens are so multi-functional, we need light that can be bright during certain times of day or for certain activities, and also become softer for early mornings or evenings, or for example socialising. Dimmable downlights are wonderfully versatile and the quality of led bulbs nowadays means that you can achieve really effective changes in mood and function within a single room.
Note: One important thing to check is that your light fittings and switches are compatible with dimmable bulbs, otherwise you may get flicker and buzz and a shorter life from your lights.
There is SO much more to say about lighting kitchens, downlights are just the start! For help and advice on any aspect of lighting for your kitchen please do contact me, I’m always happy to chat.